Recent Posts
The Hidden Dangers of Waterborne Debris After Flooding: What You Need to Know
10/16/2024 (Permalink)
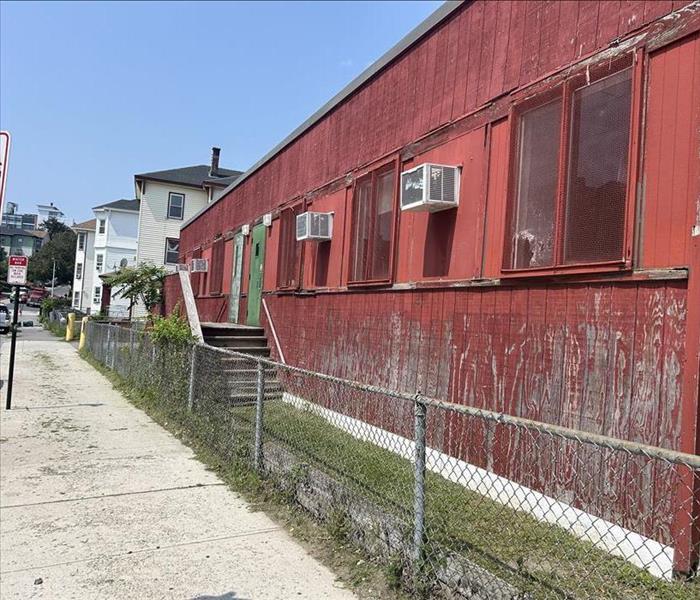 We explore the types of waterborne debris, the risks they pose, and how you can protect your property after a flood.
Flooding can leave a devastating impact on communities, not only through immediate water damage but also by introducing dangerous waterborne debris. This debris can pose significant risks to both property and the environment, making it essential to understand the dangers and how to address them effectively. In this blog, we’ll explore the types of waterborne debris, the risks they pose, and how you can protect your property after a flood.
Understanding Waterborne Debris
When floodwaters rise, they often carry with them a variety of debris. This debris can include anything from tree branches and vegetation to man-made objects like furniture, vehicles, and even hazardous materials. The force of the water can transport these items over long distances, causing widespread destruction and making cleanup efforts more challenging.
In fact, according to a study by the Environmental Protection Agency (EPA), waterborne debris can account for up to 85 percent of the total debris generated by a flood event, depending on the severity of the flooding and the region impacted. This staggering statistic underscores the importance of addressing waterborne debris in any post-flood recovery plan!
The Risks Posed by Waterborne Debris
Waterborne debris poses several risks, primarily to structures, infrastructure, and the environment. Understanding these risks can help homeowners and businesses take appropriate actions to mitigate damage.
Structural Damage
One of the most immediate concerns with waterborne debris is the potential for structural damage. Large objects like trees, cars, and construction materials can collide with buildings, bridges, and other infrastructure, leading to severe damage or even collapse. The force of the water can exacerbate the impact, making it difficult to predict or prevent damage.
Blocked Drainage Systems
Waterborne debris can also clog drainage systems, culverts, and stormwater management facilities. When these systems are obstructed, water cannot drain properly, leading to prolonged flooding and increased water damage. This blockage can also result in additional costs and delays during the cleanup and restoration process.
Environmental Impact
Flooding can carry debris into natural waterways, where it can harm aquatic ecosystems. The introduction of foreign materials, particularly hazardous substances like chemicals and oil, can contaminate water sources and harm wildlife. Furthermore, debris can alter the flow of rivers and streams, leading to erosion and changes in the landscape that can take years to recover from.
How to Address Waterborne Debris After a Flood
Effective cleanup and restoration are crucial in mitigating the risks associated with waterborne debris. Here are a few steps to consider:
- Hire Professional Restoration Services: Companies like SERVPRO® specialize in flood cleanup and restoration, including the removal of waterborne debris. They have the expertise and equipment to safely and efficiently handle debris, minimizing further damage to your property.
- Inspect and Clear Drainage Systems: Ensure that all drainage systems are inspected and cleared of debris to prevent further flooding. This may require professional assistance, particularly if the debris includes hazardous materials.
- Plan for Future Flooding: Consider flood-proofing measures for your property, such as elevating structures, installing flood barriers, and creating a debris management plan to reduce the impact of future floods.
Conclusion
Waterborne debris is a significant and often overlooked risk after flooding. From structural damage to environmental harm, the dangers posed by this debris require immediate and professional attention. By understanding the risks and taking proactive steps to address them, you can protect your property and contribute to the broader recovery effort. For expert assistance in flood cleanup and debris removal, SERVPRO is Here to Help®.
Flooding can happen unexpectedly, but with the right knowledge and resources, you can navigate the aftermath safely and effectively.
Preventing Mold During Home Renovations
9/30/2024 (Permalink)
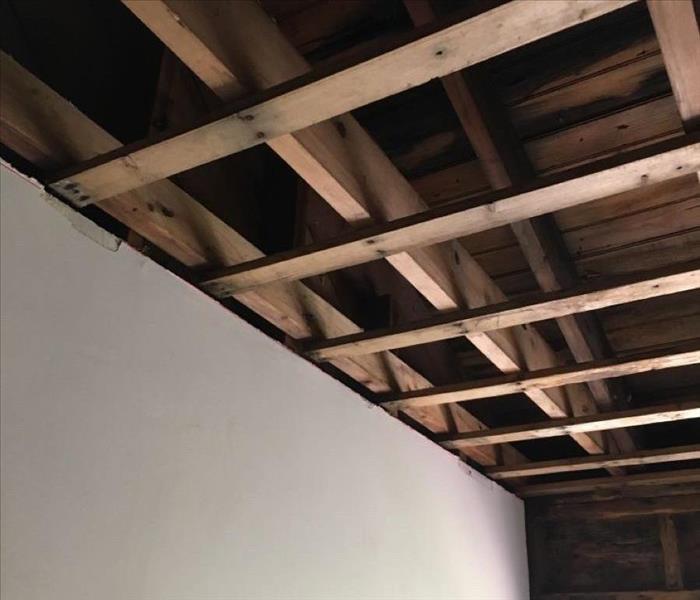 By following these expert tips, you can ensure that your renovation project is both successful and mold-free.
Home renovations can bring exciting changes to your space, but without proper planning, they can also create opportunities for mold growth. Mold thrives in moist, poorly ventilated environments, making renovation projects especially vulnerable. Whether you're remodeling a kitchen or finishing a basement, it's essential to take proactive measures to prevent mold from taking hold.
Why Mold Prevention is Crucial During Renovations
Mold can develop quickly, often within 24 to 48 hours when moisture is present. According to the EPA, keeping moisture levels below 60% can help prevent mold growth. This is especially important during renovations, as new construction materials, increased humidity, and temporary disruptions in ventilation can all create ideal conditions for mold to flourish. Understanding the risk and taking preventative steps is key to protecting your home during the renovation process.
Key Steps to Prevent Mold Growth
1. Control Moisture Levels
During renovations, dust and moisture often go hand in hand. To prevent mold, keep moisture under control by running dehumidifiers in work areas and ensuring that air is properly ventilated. It's also important to avoid storing materials like drywall or wood in humid conditions before they’re installed, as these materials can absorb moisture and foster mold growth.
2. Seal Off the Renovation Area
If you're working in an area that generates a lot of dust or moisture, such as a bathroom or basement, seal off the space from the rest of your home. This prevents the spread of dust and mold spores to unaffected areas. Plastic sheeting and painter’s tape are great for creating temporary barriers.
3. Use Mold-Resistant Materials
When choosing materials for your renovation, opt for mold-resistant options whenever possible. Mold-resistant drywall, insulation, and paint can be key in minimizing the risk of mold development. These materials are specially designed to resist moisture absorption, making them a smart investment for areas prone to dampness.
4. Address Leaks and Water Damage Immediately
If your renovation project uncovers hidden leaks or water damage, it’s crucial to address these issues right away. Even small leaks can create lasting problems if not handled properly. Repair any damaged plumbing or roofing, and dry out affected areas before proceeding with your renovation.
Monitor Humidity Levels After Renovation
Once your renovation is complete, it's important to maintain moisture control. Use a hygrometer to monitor humidity levels in your home, especially in newly renovated spaces. Keeping humidity between 30-50% is ideal for preventing mold.
At SERVPRO® of Shrewsbury/Westborough, we understand the importance of protecting your home from mold during renovations. By following these expert tips, you can ensure that your renovation project is both successful and mold-free. For professional assistance with mold prevention and remediation, our team is here to assist every step of the way.
The Importance of Practicing Storm Drills with Your Family
9/11/2024 (Permalink)
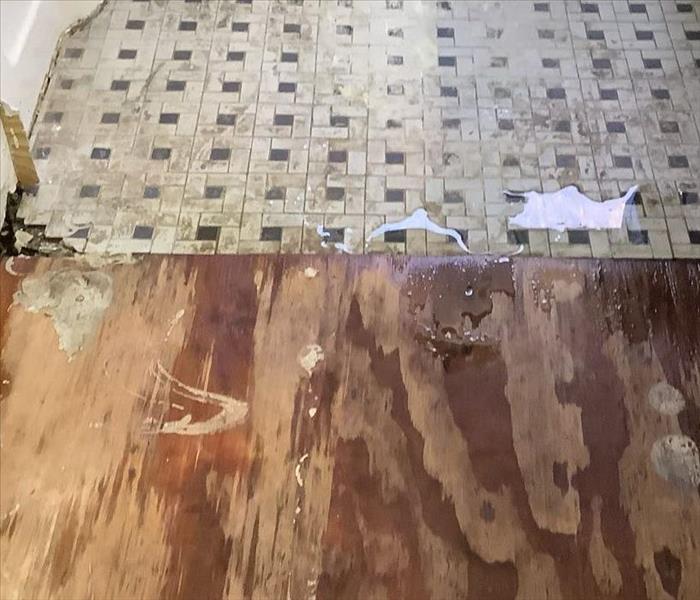 At SERVPRO, we are committed to helping you prepare for and recover from the unexpected.
When severe weather strikes, it’s essential to be prepared. One of the most effective ways to ensure your family’s safety during a storm is by practicing storm drills. At SERVPRO®, we understand the critical role preparation plays in protecting your home and loved ones. In this blog post, we'll discuss the importance of storm drills and provide tips on how to implement them effectively.
Why Storm Drills Matter
Storm drills are vital for several reasons. First and foremost, they help ensure that everyone in your household knows exactly what to do in the event of severe weather. This knowledge can significantly reduce panic and confusion when a real storm occurs. Additionally, regular drills allow you to identify any weaknesses in your emergency plan and make necessary adjustments.
Practicing storm drills also reinforces the importance of emergency preparedness. When everyone in your family is familiar with the procedures, they are more likely to respond quickly and appropriately during an actual emergency. This can be particularly important for families with young children, who may be more prone to anxiety during storms.
Creating an Effective Storm Drill Plan
To create an effective storm drill plan, start by identifying the types of severe weather most common in your area. Whether it’s hurricanes, tornadoes, or severe thunderstorms, understanding the specific threats you face will help you tailor your plan accordingly.
Next, designate a safe room in your home where your family can take shelter during a storm. This should be an interior room on the lowest level of your home, away from windows and exterior walls. Stock this room with essential supplies such as flashlights, batteries, a first aid kit, and non-perishable food items.
Once your safe room is established, create a clear and simple emergency plan. This should include step-by-step instructions for what each family member should do when a storm warning is issued. Make sure to practice this plan regularly, at least twice a year, to ensure everyone knows their role.
Incorporating Technology into Your Plan
Technology can be a valuable tool in storm preparedness. Consider signing up for weather alerts from reliable sources such as the National Weather Service. These alerts can provide you with real-time updates on severe weather conditions, giving you the information you need to take action quickly.
In addition, utilize apps that can help you track storms and stay informed about potential threats. There are many free and paid options available that offer detailed weather forecasts and storm tracking capabilities.
Practicing storm drills with your family is a crucial aspect of emergency preparedness. By taking the time to create a comprehensive plan and regularly practicing it, you can help ensure the safety and well-being of your loved ones during severe weather events. At SERVPRO, we are committed to helping you prepare for and recover from the unexpected. Stay safe and be prepared!
How to properly ventilate your home to reduce fire hazards
8/14/2024 (Permalink)
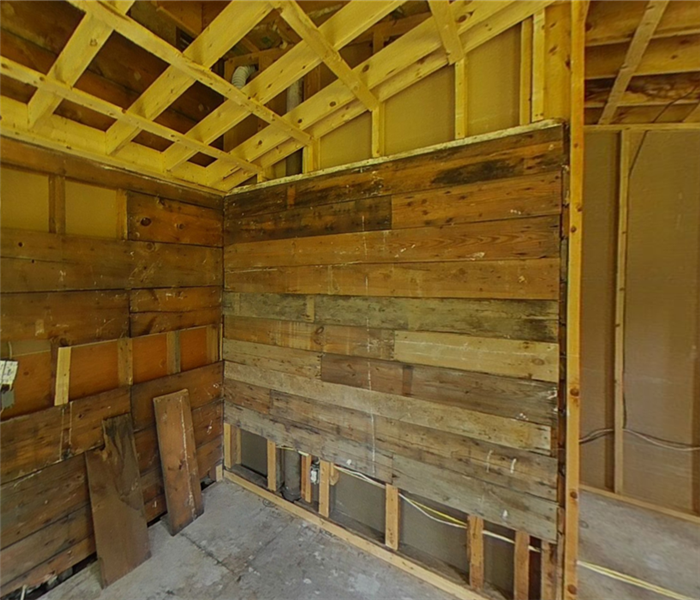 At SERVPRO, we’re committed to helping you protect your home from fire risks.
Ensuring your home is well-ventilated is crucial for maintaining safety, particularly when it comes to reducing fire hazards. Proper ventilation helps manage heat and smoke, minimizing the risk of fires starting and spreading. At SERVPRO®, we understand the importance of a fire-safe home, and we’re here to share valuable tips on how to ventilate your home effectively to mitigate fire risks.
The Importance of Proper Ventilation
Ventilation plays a critical role in maintaining a safe environment. It ensures that any heat generated by appliances or activities doesn’t accumulate to dangerous levels. Moreover, it helps disperse smoke and fumes, which can be potential fire hazards. Here are some key steps to ensure your home is adequately ventilated:
1. Install and Maintain Exhaust Fans
Exhaust fans are essential in areas prone to heat and smoke, such as kitchens and bathrooms. Regularly check and clean these fans to ensure they are functioning optimally. Grease and dust buildup can reduce their efficiency and pose a fire risk. Consider installing high-efficiency exhaust fans that can handle larger volumes of air if you frequently use high-heat appliances.
2. Use Range Hoods in the Kitchen
A range hood above your stove is a vital piece of kitchen ventilation. It helps to capture and remove cooking smoke, steam, and grease particles. Ensure your range hood is properly vented to the outside and not recirculating air back into the kitchen. Clean or replace filters regularly to maintain efficiency.
3. Ventilate Attics and Crawl Spaces
Attics and crawl spaces can trap heat and allow combustible materials to reach high temperatures. Install proper vents in these areas to allow hot air to escape. Ridge vents, soffit vents, and gable vents can be highly effective. Ensure these vents are not obstructed by insulation or debris.
4. Open Windows and Doors When Safe
Whenever possible, especially when using heat-generating appliances, open windows and doors to allow fresh air to circulate. This simple step can significantly reduce the risk of heat buildup. However, ensure that this does not compromise your home’s security or allow outdoor pollutants inside.
5. Maintain HVAC Systems
Your heating, ventilation, and air conditioning (HVAC) system plays a significant role in home ventilation. Schedule regular maintenance checks to ensure your HVAC system is in good condition. Clean or replace air filters every 1-3 months to keep airflow unobstructed and reduce fire hazards associated with clogged filters.
6. Check Dryer Vents
Dryer vents can become clogged with lint, a highly flammable material. Clean your dryer vent regularly to ensure it is free of lint and other debris. Use rigid or semi-rigid metal ducting to reduce the risk of fire, as opposed to flexible plastic ducts.
7. Use Ceiling Fans
Ceiling fans help to circulate air throughout your home, reducing the risk of heat pockets that could potentially ignite flammable materials. In the summer, set your fans to spin counterclockwise to push cool air down, and in the winter, set them to spin clockwise to distribute warm air.
Proper ventilation is a simple yet effective way to reduce fire hazards in your home. By following these tips, you can ensure a safer environment for you and your loved ones. At SERVPRO, we’re committed to helping you protect your home from fire risks. For more expert advice and assistance, don’t hesitate to contact us. Stay safe and breathe easy with a well-ventilated home.
Mold and Moisture Control in Commercial Buildings
7/17/2024 (Permalink)
As a commercial property owner or manager, maintaining a mold neutral environment for employees and customers is paramount. One of the biggest challenges you may face in this endeavor is mold and moisture control. Mold growth not only damages the structural integrity of buildings but also can lead to costly repairs if left unaddressed. At SERVPRO®, we understand the importance of proactive measures to mitigate mold and moisture issues in commercial spaces. In this blog post, we'll explore effective strategies to tackle these concerns and safeguard your property.
Identify and Eliminate Moisture Sources
The first step in mold prevention is identifying and eliminating sources of moisture. Conduct regular inspections of your commercial building to detect any leaks, drips, or areas of excess humidity. Common moisture sources include plumbing leaks, roof leaks, poorly ventilated areas, and improper drainage. Addressing these issues promptly can help prevent mold growth and preserve the integrity of your property.
Improve Ventilation
Proper ventilation is essential for controlling moisture levels indoors. Ensure that your HVAC system is well-maintained and functioning efficiently. Consider installing exhaust fans in areas prone to moisture accumulation, such as bathrooms, kitchens, and laundry rooms. Adequate ventilation helps to reduce humidity levels and minimize the risk of mold growth.
Monitor Indoor Humidity
Monitoring indoor humidity levels is key to preventing mold in commercial buildings. Invest in a hygrometer to measure humidity levels regularly. Ideally, indoor humidity should be kept between 30% and 60%. If humidity levels exceed this range, consider using dehumidifiers to remove excess moisture from the air.
Implement Waterproofing Measures
Waterproofing vulnerable areas of your commercial building can help prevent moisture infiltration and subsequent mold growth. Seal cracks and gaps in walls, floors, and foundations to prevent water intrusion. Consider applying waterproof coatings to basement walls and other below-grade areas to create a barrier against moisture penetration.
Regular Maintenance and Cleaning
Routine maintenance and cleaning are essential for mold prevention in commercial buildings. Clean and inspect HVAC systems regularly to prevent mold buildup in ductwork and air vents. Keep gutters clean and free of debris to ensure proper drainage and prevent water damage to the building exterior. Regularly clean and disinfect areas prone to moisture, such as restrooms and break rooms, to discourage mold growth.
Mold and moisture control in commercial buildings require a proactive approach and diligent maintenance. By identifying and addressing moisture sources, improving ventilation, monitoring indoor humidity levels, implementing waterproofing measures, and conducting regular maintenance and cleaning, you can effectively prevent mold growth and protect your property investment. At SERVPRO®, we are committed to helping commercial property owners maintain a safe environment for their employees and customers. Contact us today for professional mold remediation and moisture control services tailored to your commercial property's needs.
Building an Essential & Budget-Friendly DIY Emergency Kit
5/15/2024 (Permalink)
In times of crisis, having a well-prepared emergency kit can make all the difference in ensuring the safety and comfort of you and your loved ones. While ready-made emergency kits are available for purchase, building your own DIY emergency kit on a budget is not only cost-effective but also allows you to customize it according to your specific needs. Let's explore how you can assemble a comprehensive emergency kit without breaking the bank.
1. Start with the Basics
Begin by gathering essential items that will help you address the most common emergency scenarios. This includes non-perishable food items, such as canned goods and granola bars, as well as bottled water to sustain you for at least three days. Don't forget to include a manual can opener and eating utensils.
2. Focus on Shelter and Warmth
In the event of a power outage or evacuation, having adequate shelter and warmth is crucial. Include items such as blankets, sleeping bags, and extra clothing in your emergency kit to keep you warm and comfortable. Additionally, consider adding a tarp or tent for temporary shelter if needed.
3. Prioritize Safety and First Aid
Safety should always be a top priority in any emergency situation. Stock your DIY emergency kit with a basic first aid kit containing bandages, gauze pads, antiseptic wipes, and over-the-counter medications for pain relief and common ailments. Don't forget to include a flashlight with extra batteries, a whistle for signaling for help, and a multi-tool for various tasks.
4. Stay Connected
Maintaining communication during emergencies is essential for staying informed and requesting assistance if needed. Include a battery-powered or hand-crank radio in your emergency kit to receive updates from local authorities. Additionally, consider adding a portable phone charger or solar-powered charger to keep your devices powered up.
5. Consider Special Needs
If you or your family members have specific medical or dietary needs, be sure to accommodate them in your emergency kit. This may include prescription medications, medical supplies, and special dietary items. Keep a list of important contacts, including doctors and emergency services, readily accessible.
6. Don't Forget Personal Hygiene:
Maintaining personal hygiene is important even during emergencies. Pack items such as hand sanitizer, wet wipes, toilet paper, and feminine hygiene products in your emergency kit. You may also want to include a basic hygiene kit with toothbrushes, toothpaste, and soap.
7. Store Your Kit Wisely
Once you've assembled your DIY emergency kit, store it in a waterproof and durable container that is easy to carry and access. Consider keeping one kit at home and another in your vehicle for added preparedness. Be sure to periodically check and update your emergency kit to ensure that all items are in good condition and up-to-date.
Building a DIY emergency kit on a budget is a proactive step towards preparedness and peace of mind. By including essential items for food, shelter, safety, communication, and personal hygiene, you can be better equipped to handle unexpected emergencies with confidence. Remember, being prepared is key to staying safe and resilient in the face of adversity.
Essential Equipment for Water Damage Restoration
4/25/2024 (Permalink)
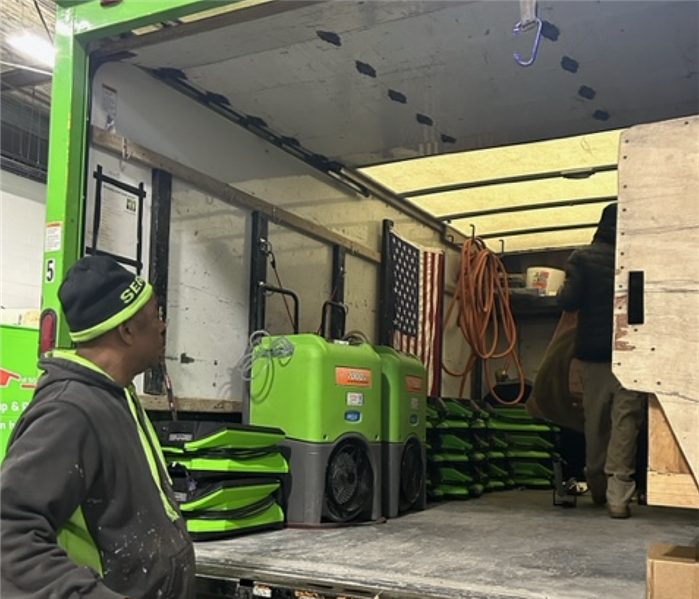 By utilizing a combination of advanced equipment and proven restoration techniques, we can effectively mitigate water damage.
Water damage can cause structural damage, mold growth, and other hazards if not addressed promptly. To effectively mitigate water damage and restore your home or business to its preloss condition, professional restoration companies rely on a variety of equipment and tools. Let's explore the essential equipment used in water damage restoration and why each tool is crucial for effective restoration efforts.
Extractors
Extractors are powerful machines designed to remove standing water from affected areas quickly and efficiently. These machines come in various sizes and types, including portable extractors for smaller areas and truck-mounted extractors for larger water damage incidents. Extractors utilize suction power to extract water from carpets, flooring, and other surfaces, facilitating faster drying and preventing further damage.
Dehumidifiers
Dehumidifiers play a crucial role in the water damage restoration process by removing excess moisture from the air and materials in the affected space. High humidity levels can prolong the drying process and promote mold growth, making dehumidification essential for preventing secondary damage. Commercial-grade dehumidifiers are capable of extracting large volumes of moisture from the air, expediting the drying process, and restoring optimal indoor humidity levels.
Air Movers
Air movers, also known as fans or blowers, are used to enhance air circulation and promote evaporation during the drying process. By directing airflow across wet surfaces, air movers accelerate moisture evaporation, allowing water to transition from a liquid to a vapor state. This helps expedite the drying process and prevents moisture from lingering in building materials, reducing the risk of mold growth and structural damage.
Moisture Meters
Moisture meters are essential diagnostic tools used to assess the moisture content of building materials and monitor the progress of the drying process. These handheld devices measure the moisture levels within various materials, such as drywall, wood, and concrete, allowing restoration professionals to determine the extent of water damage and verify when materials have been adequately dried. Accurate moisture readings enable targeted drying strategies and ensure thorough moisture removal.
Thermal Imaging Cameras
Thermal imaging cameras are valuable tools used to detect hidden moisture and water intrusion within building structures. These cameras utilize infrared technology to capture thermal images of surfaces, revealing temperature variations that may indicate the presence of moisture. By identifying hidden moisture pockets behind walls, ceilings, and floors, thermal imaging cameras help restoration professionals pinpoint areas requiring targeted drying and prevent potential mold growth and structural damage.
Injectidry Systems
Injectidry systems are specialized drying systems designed to address water intrusion in hard-to-reach areas, such as wall cavities, ceiling voids, and underneath flooring. These systems use a network of hoses and injectors to deliver warm, dry air into confined spaces, effectively drying moisture trapped within building materials. Injectidry systems allow restoration technicians to target specific areas with precision, ensuring thorough drying and preventing secondary damage.
By utilizing a combination of advanced equipment and proven restoration techniques, professional restoration companies like SERVPRO of Shrewsbury/Westborough can effectively mitigate water damage and restore properties to preloss condition quickly and efficiently. If your home or business experiences water damage, don't hesitate to contact our trusted restoration team for prompt assistance and reliable restoration services.
Understanding the Risks: Mold Growth After a House Fire
4/17/2024 (Permalink)
A house fire is a devastating event that can leave behind not only physical damage but also unseen dangers lurking in its aftermath. While the immediate focus may be on extinguishing the flames and assessing the structural damage, another threat often goes unnoticed: mold growth. Mold can start to develop within 24 to 48 hours after a fire, posing significant risks and further complicating the restoration process.
Moisture and Humidity
House fires create the perfect environment for mold growth by introducing moisture and increasing humidity levels. The water used to extinguish the fire can saturate building materials and furnishings, providing moisture for mold spores to thrive. Additionally, the heat from the fire can cause pipes to burst or weaken seals, leading to water leaks that worsen the problem.
Organic Material and Soot
The soot and ash left behind by fire contain organic materials that serve as food sources for mold. As these residues settle on surfaces throughout the home, they create ideal conditions for mold spores to germinate and spread. Combined with the moisture from firefighting efforts, the presence of soot and ash can accelerate mold growth and complicate cleanup efforts.
Compromised Structural Integrity
Mold growth after a house fire can compromise the structural integrity of your home. Mold can penetrate porous materials such as drywall, wood, and insulation, causing them to weaken and deteriorate over time. This can lead to sagging ceilings, warped floors, and crumbling walls, posing safety hazards for occupants. Additionally, mold can cause damage to electrical systems and plumbing, worsening the structural issues. Addressing mold growth quickly is essential in preserving the structural integrity of your home and preventing costly repairs down the line.
Structural Damage and Property Loss
Left unchecked, mold growth can cause extensive damage to building materials, furniture, and personal belongings. Mold can penetrate porous surfaces such as drywall, wood, and upholstery, compromising their structural integrity and leading to expensive repairs or replacements. Additionally, the presence of mold can significantly reduce the value of the property.
In conclusion, mold growth after a house fire is a serious concern that should not be underestimated. By understanding the factors that contribute to mold growth and the associated risks, homeowners and restoration professionals can take proactive measures to address mold contamination effectively. Prompt cleanup and remediation efforts are essential in minimizing the structural damage and property loss associated with mold growth after a fire. By prioritizing mold prevention and mitigation strategies, we can ensure a safe and successful restoration process for all involved.
Keeping It Dry: Mold and Moisture Control Tips for Your Commercial Space
3/13/2024 (Permalink)
Hey there, business owners and property managers! Dealing with mold issues in commercial buildings can be a real headache. But fear not, because your friendly SERVPRO® team is here with some down-to-earth tips to help you keep things dry and mold-free.
1. Know Your Enemy: Mold Loves Moisture
Mold is like that unwanted guest who overstays their welcome if you let them. And what does it love? Moisture. So, your first line of defense is to identify and fix any leaks pronto. Regularly check for water stains, funky odors, or damp spots – these are red flags signaling mold might be lurking.
2. Ventilate Like a Pro
Proper ventilation is key to battling moisture. Make sure your HVAC system is doing its job efficiently, and consider using dehumidifiers in areas prone to dampness. Good airflow is your secret weapon against mold, so let the air circulate freely!
3. Clean Regularly, But Don't Forget the Nooks
Regular cleaning is a no-brainer, but make sure you're not missing the hidden spots. Mold loves to play hide-and-seek in dark corners and neglected spaces. Don't let it win! Regularly inspect those out-of-sight areas and tackle any signs of mold head-on.
4. Monitor Humidity Levels
High humidity creates a cozy home for mold. Invest in a hygrometer to keep tabs on indoor humidity levels. Aim for 30-50% – that's the sweet spot where mold struggles to thrive.
5. Educate Your Team
Knowledge is power! Train your staff to report any water leaks or moldy discoveries promptly. Early detection can save you from a full-blown mold invasion.
6. Bring in the Pros
When in doubt, don't hesitate to call in the experts. SERVPRO of Shrewsbury/Westborough is here 24/7 to assess the situation, develop a game plan, and kick that mold to the curb.
In conclusion, keeping mold and moisture in check is all about staying vigilant and taking proactive steps. Your commercial space should be a mold-free zone, and with these tips, you'll be well on your way to a dry and healthy environment. Stay dry, stay mold-free!
Frozen Pipes and Water Damage: Everything You Need to Know
2/14/2024 (Permalink)
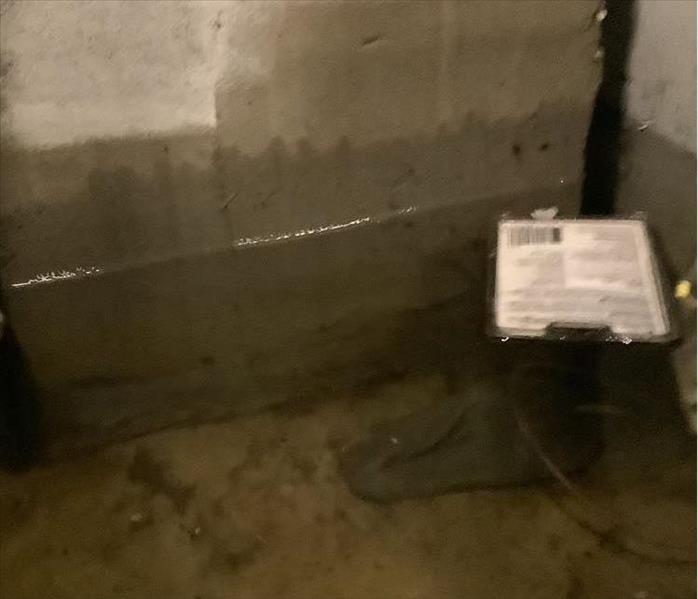 Don’t hesitate to give our SERVPRO of Shrewsbury/Westborough a call today!
As temperatures drop during the winter months, the risk of frozen pipes in homes significantly increases. While frozen pipes might seem like a mere inconvenience, they can lead to severe water damage if not addressed promptly. Understanding the causes, signs, prevention, and necessary steps to take in the event of frozen pipes is crucial to safeguarding your home.
Causes of Frozen Pipes
Pipes tend to freeze when exposed to extremely low temperatures, especially in unheated or poorly insulated areas of the house such as attics, basements, crawl spaces, and exterior walls.
When temperatures plummet below freezing, the water inside pipes can freeze and expand, causing pressure to build up and potentially lead to pipe bursts. Poorly insulated pipes are more susceptible to freezing. Lack of insulation in vulnerable areas leaves pipes exposed to harsh outdoor temperatures. Another common cause includes gaps or cracks in walls, foundations, or around pipes' entry points that can expose them to cold air. This increases the likelihood of freezing.
Signs of Frozen Pipes
Identifying frozen pipes early can prevent potential water damage. Look out for these signs:
- Frost on Visible Pipes: Visible pipes in unheated areas might have frost on their exterior, indicating freezing.
- No Water Flow: If faucets produce little to no water or only a trickle, it could indicate frozen pipes.
- Unusual Odors: An odd smell could be due to a blockage in the pipes caused by freezing.
Prevention Tips
Taking preventive measures can significantly reduce the risk of frozen pipes.
- Properly insulate pipes in vulnerable areas using pipe sleeves, heat tape, or foam insulation.
- Keep the thermostat at a consistent temperature, even during cold nights. Allow warm air to circulate pipes by opening cabinet doors.
- Allowing faucets to drip can relieve pressure buildup in the pipes and prevent freezing.
- Seal gaps or cracks in walls, windows, and foundations to prevent cold air from reaching pipes.
Dealing with Frozen Pipes
If you suspect frozen pipes, take immediate action:
- Keep Faucets Open
- Apply Heat
- Call a Professional
In conclusion, preventing frozen pipes through insulation, adequate heating, and vigilance is key to avoiding potential water damage in your home during winter. Being proactive and knowing how to identify and address frozen pipes can save you from costly repairs and the hassle of dealing with water damage emergencies. Remember, in severe situations, seeking professional assistance is always advisable to ensure your home is protected. Don’t hesitate to give our SERVPRO of Shrewsbury/Westborough a call today!
 We explore the types of waterborne debris, the risks they pose, and how you can protect your property after a flood.


 24/7 Emergency Service


